Hi all, Sarah here with you again today to share my layout using the fab 60’s squares cut file (pre-cut here and digital here). I cut this in black card stock and was going to back it with patterned papers, but once I knew what photo I was going to scrap, I decided to embellish it instead.

I chose the Crate Paper – Hooray – Yay paper as my background and stuck the cut file directly on to this using some foam pads. I mounted my photo on a navy patterned paper for some contrast and stuck that on to the page, overlapping the cut file and again, on foam pads.I then used some die cut flower pots from the Pinkfresh Studio Everyday Musings ephemera pack and stuck them on with glue and foam pads, to give the image that they are sat on shelves. I also added a few chipboard flowers from the Pinkfresh Studio Joyful day collection. I then added a few Bramble Fox Perspective hearts, enamel dots from Shimelle and a couple of Pinkfresh Studio tassel bows.

I then wanted a cluster of embellishments around my photo, to bring it all together. I added a chipboard scallop frame, a couple of die cut flowers and a phrase. For a bit of bling I added a couple of sparkly enamel dots and a gold heart. I added the title from the gold puffy phrase stickers, again from Pinkfresh studio.
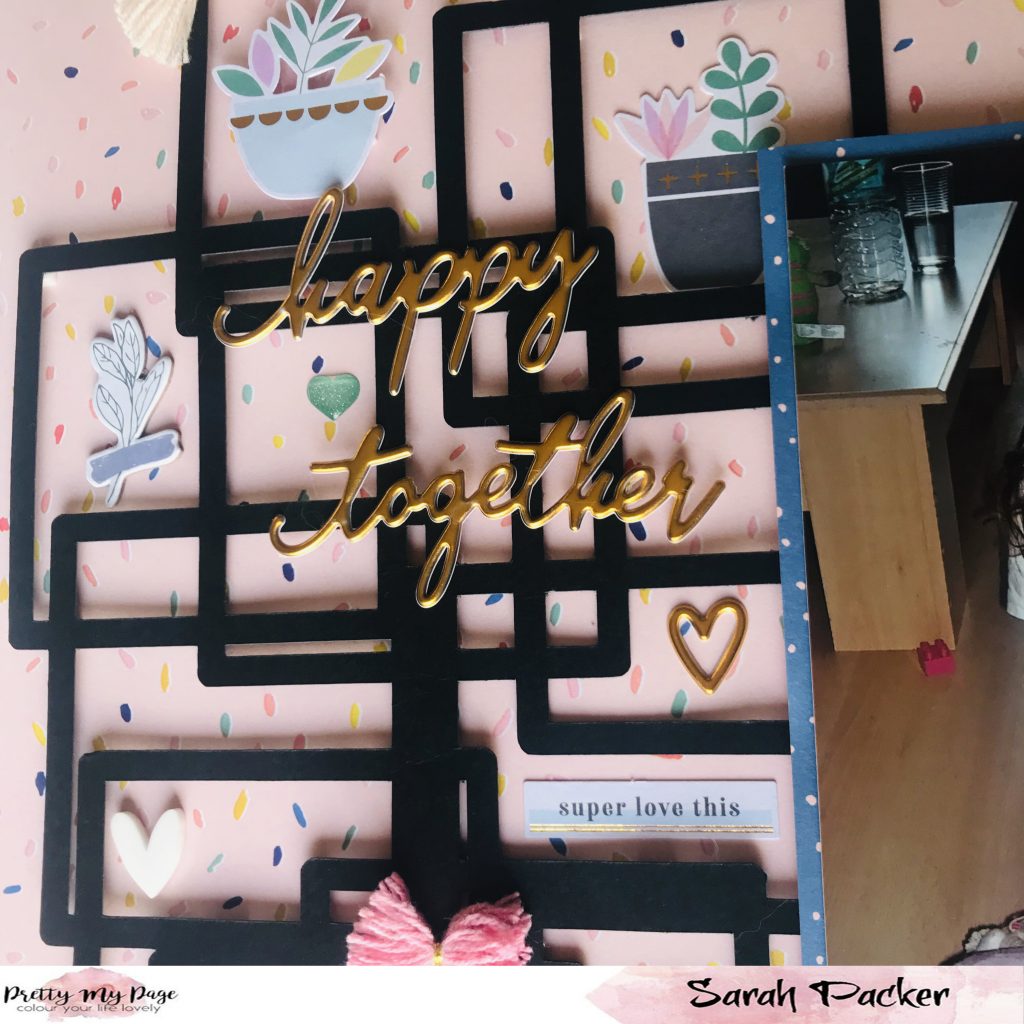
I love how it all came together and how the black cut file really stands out from the paler pink background.
With love and colour
x
598 /
Terri here back with my last blog post of the month. I chose to use the ‘lets go to the movies’ cut file designed by the lovely Lisa-Jane (pre-cut version here). This has perfect cut files to document anything film related. There are loads of different items on the file but I have only used the film strip on this layout.
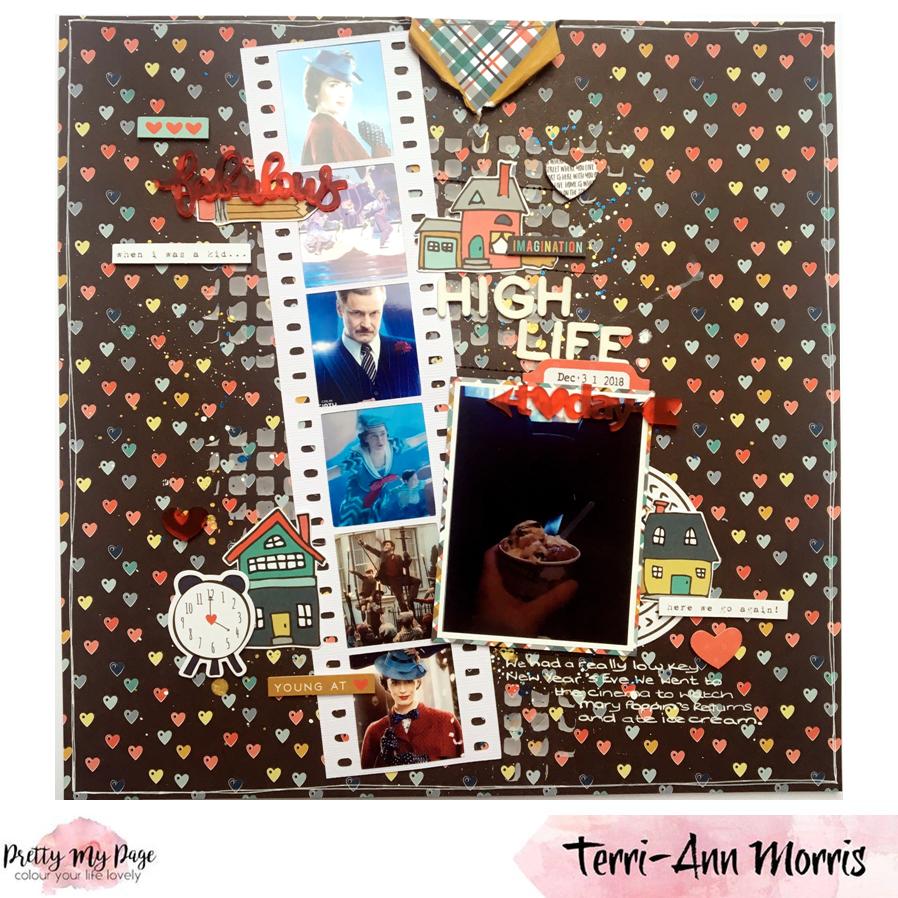
This layout documents our trip to see the new Mary Poppins film on New Years Eve. I’m using up some older stash this month and this Fancy Pants collection has been gathering dust for a while. I love the bright bold colours in the collection.

I used the film strip cut file in white cardstock and added photos from the film that I found on the internet. I simply printed them to a small size and stuck them flush with the cardstock cut file using double sided tape.

I’ve used some texture paste through a stencil, ink splatters and stitching on the background to create different textures on the page. Lots of embellishments from the collection die cut pack and acrylic pieces were then grouped in areas on the page.

Thanks for joining us on the blog today.

546 /
Hello, Sarah here to share a layout I created using the super cute Paige Evans Crab cut file (available to buy pre cut in black, white and cream cardstock).
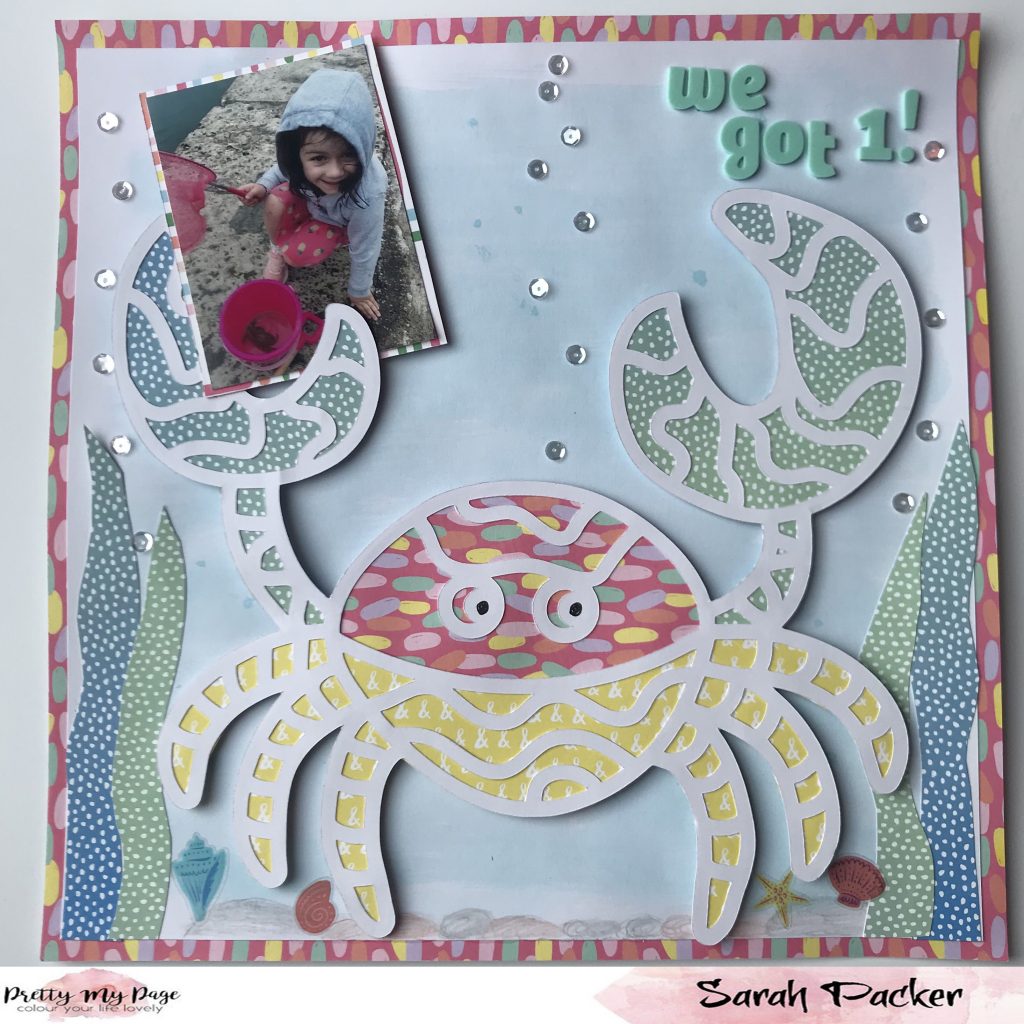
First I cut my background white cardstock down to 11.5×11.5 and gave it a colour wash with some blue watercolour paint to give it an underwater feel. I gutted a piece of patterned paper from the Amy Tan Sunshine & Good Times Collection to created a border for my page.

Once the paint was dry I drew on some pebbles at the bottom using watercolour pencils and blended them. I then add some paint flicks in the same blue I used to paint the background.
I backed the cut file with some of the gutted piece of paper and more from the Sunshine and Good Times collection. I mounted this on some foam pads so that it would pop from the page. Using some of the blue/green patterned paper, I roughly cut some seaweed shapes and stuck to the background in the bottom two corners to add to that underwater vibe.

I stuck the cut file on to the background and mounted the whole page to the border I had cut. I mounted the photo on some leftover paper and stuck it so it looked like the crab was holding it! I then embellished with some shell stickers and a few silver sequins for air bubbles and Thickers for the title! Perfect page for the photos of my niece catching crabs at the seaside!
Thanks for looking ?
499 /
When I saw the cocktail corner cut file I knew that this was one for me. I love scrapbooking and cocktails and knew I had lots of photos where I have been worse for wear!!
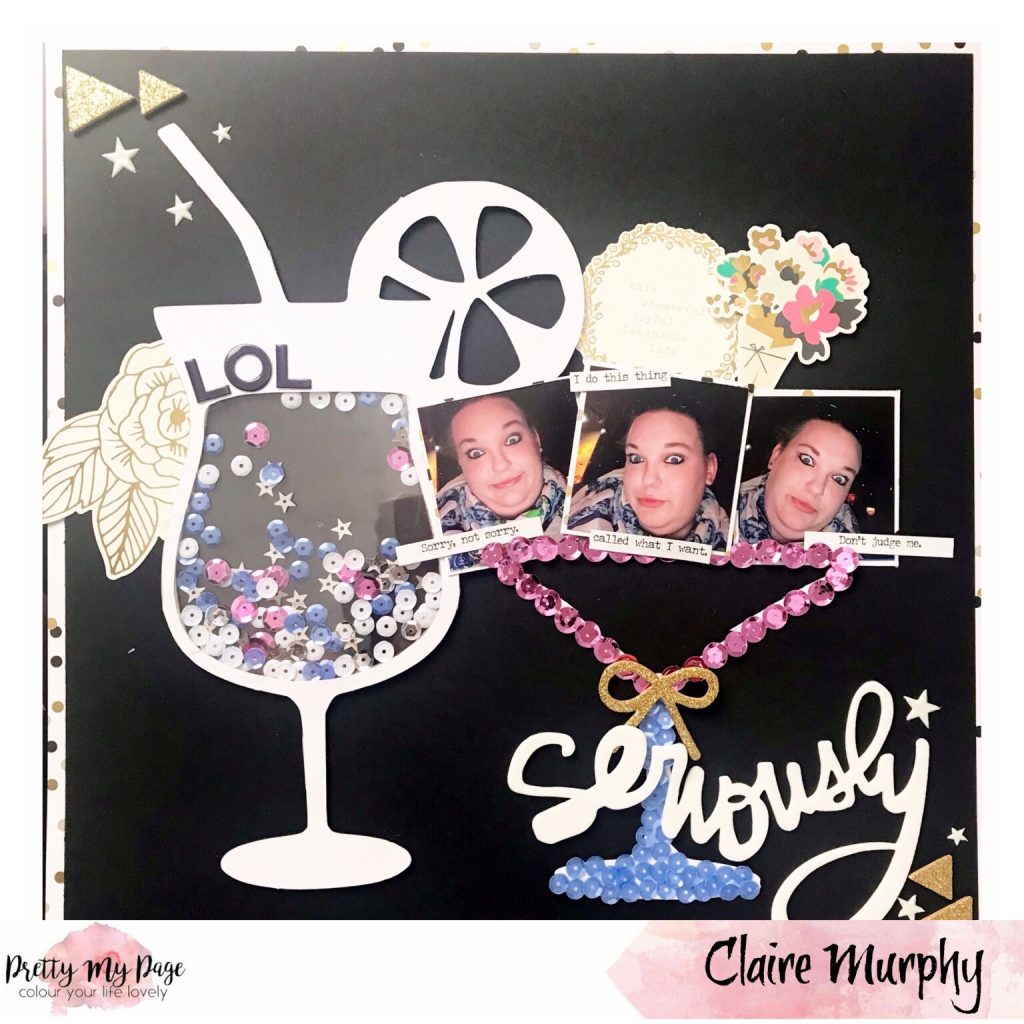
I scaled the cut file up to be able to make a shaker out of one of them. I layered acetate behind the cut file, added some foam tape around the sides, added in some sequins and then backed with some more acetate. This gave me the complete see through look that I was going for.
With the other cocktail glass (the Martini style one) I decided to add sequins directly onto the cut file. I trimmed some of the cut file to remove the extra bit that I didn’t need and I love how this turned out!!

I added to my layout 3 small 2×2 inch photos from when I may have been a little tipsy and took some silly selfies and tucked these into the top of the martini glass cut file. I decided it looked best on Black cardstock as it really made the cut files pop.
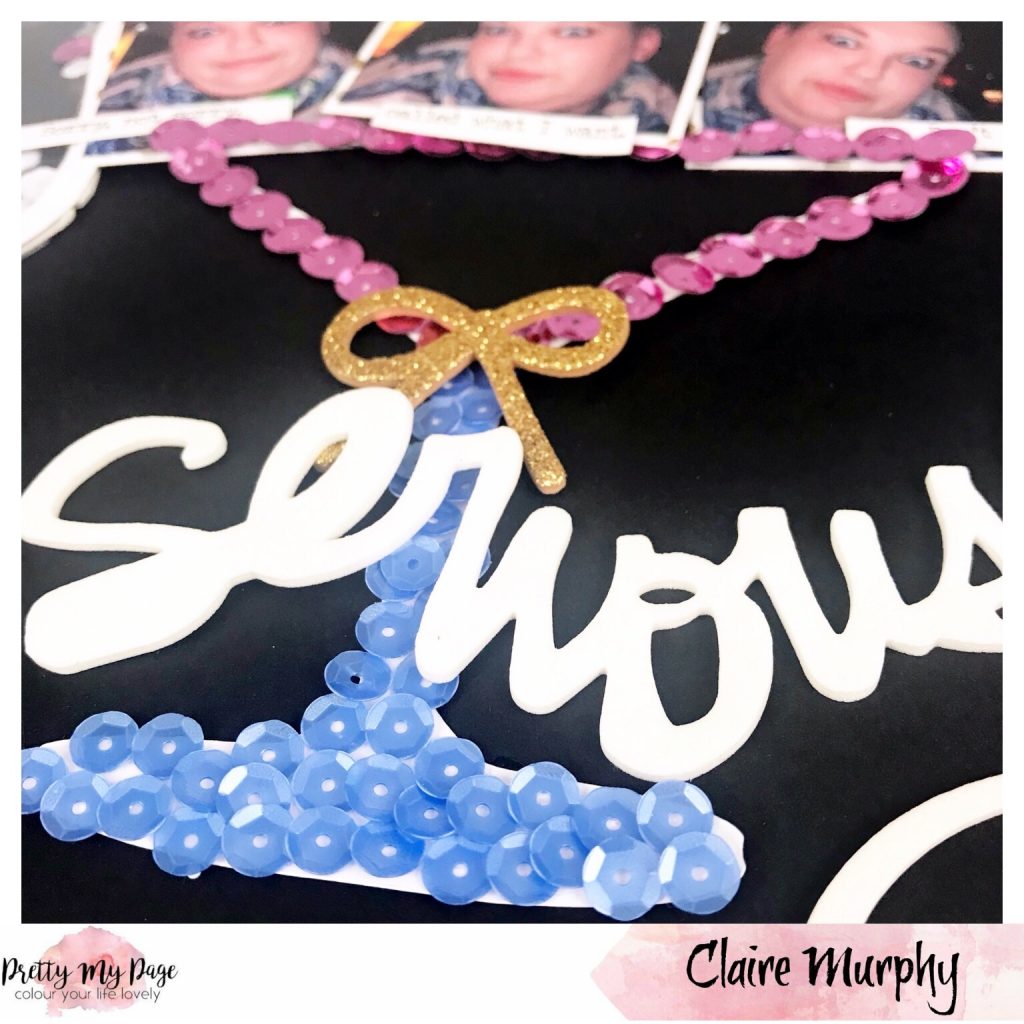
I then added some embellishments around the cut files, with the addition of some gold glitter (because why not!).
Claire
563 /
Hey there, Laura back with my final January creation.

I love the Triangle Mesh cut file. You get two for one as you are also left with lots of perfectly cut triangles. I cut the image at about 5″ on several patterned papers from my Glittery Hands Box subscription box. I cut an extra one of some thicker card that I could use as a stencil. I masked off some areas with washi tape so I was left with an interesting collection of triangles.

I used an ink blending tool and a new sponge to apply some embossing ink through the cut file stencil, removed the stencil and sprinkled on some gold embossing powder. I re-learnt the lesson of always using an anti-static powder tool to prep your page before heat embossing. I had a lot of stray embossing powder that needed to be cleared off with a dry paintbrush before I could use my heat gun to melt the powder. I never tire of watching the moment the powder melts.

Once the background was complete I layered up my coloured meshes and used a few staples in the middle to hold them in place. Because I cut them at 5″ the lines were quite thin and I didn’t fancy trying to get glue on the back of all the triangle mesh. For extra security and for extra prettiness I poked some holes and added some gold stitching in a few spots around the edge of the cut files.

I popped my photo up on some foam and glued it in place. I took an age to decide what to do for my title… none of my gold alphas matched the gold embossing powder. The simple solution was to emboss some alphas with the same powder for the perfect match. I added the perfectly matched gold alphas, some journalling strips and finally a sprinkling of puffy stickers and enamel dots.

You can see the whole thing come together in my process video here.
With love and colour
x
578 /
Hi everyone, it’s Terri here waving from sunnier climes!
Well here’s hoping we are all over the January blues now we head in to February. I don’t mind January as we usually go away on holiday and this year is no exception. We are currently away on a lovely trip travelling round parts of Cuba. I can’t wait to get scrapping my trip so I’m sure you will see a theme to my next batch of layouts.

I’ve used the digital ‘Butterfly Side Mesh’ cut file in white cardstock (pre cut available here) and added it on top of an inky style background created using the packaging technique using 3D foam to give dimension. I used watercolour paints and also Dylusions Shimmer Inks which are available in the shop to create the mixed media background.

This is a busy layout and I have to admit it didn’t quite turn out exactly how I had intended. I struggled to match the watercolour background behind the cut file with the patterned paper I was using and I feel it is all a little too busy for my taste.

A short and sweet blog post from me today, but I’ll be back in full swing with my next ones. In the meantime go and check out all the fab cut files available as both digital download and pre cut.
Happy Scrapping!

497 /
Hi everyone, Tracy here. For this project I wanted to use the pretty Paige Evans Flower Wreath in white (it is also available in black and cream and even in a stitched version if you like a challenge!)

I used pink and yellow acrylic paints to put some colour – this is a great way of matching your white cutfiles to fit your project. Here I used a make up sponge, firstly going all over with a pale yellow and then adding some pink to tie in with the photo. I’ve then put some silver gilding flakes randomly through the flowers. I love the touch of sparkle it gives.

The background sheet is a vellum that I’ve had in my stash for many years and loved but just didn’t want to use!! (we all do that, right!?). It gives such a subtle background to the whole layout so that the photo really takes pride of place.
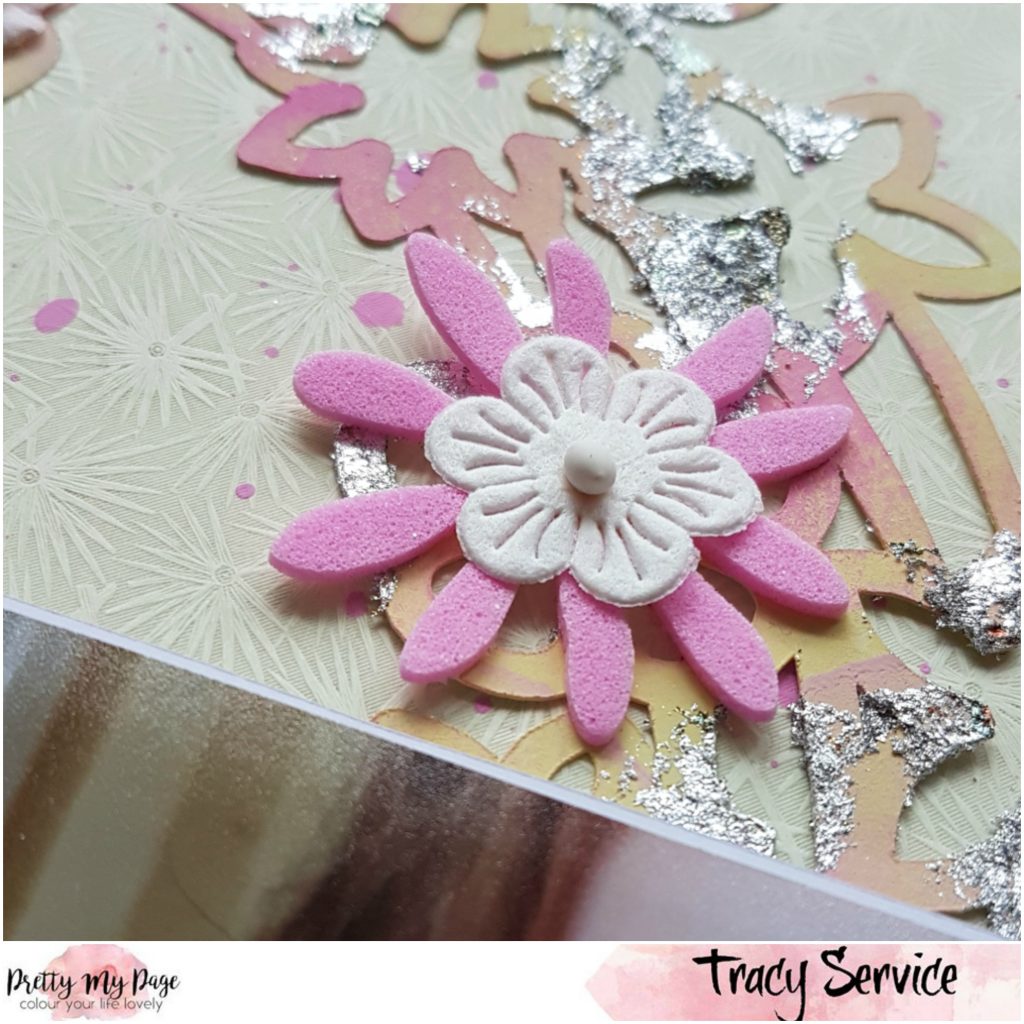
I’ve used the same pink paint from the wreath to add some splats to this background and also added a few flowers through the wreath. Some of the flowers are foam, some are mulberry paper and some are from Doodle Bug Designs from many years ago! Along with the golding flakes that have been in my stash for a while, this was a great project to get some older supplies used up. Finally I add some Thickers for my title to complete my subtle and pretty page.
With love and colour.
x
529 /
Hi there, it’s Laura back again!
You might be buying your PMP cut files to scrapbook with? I know I am BUT they work for cards too…

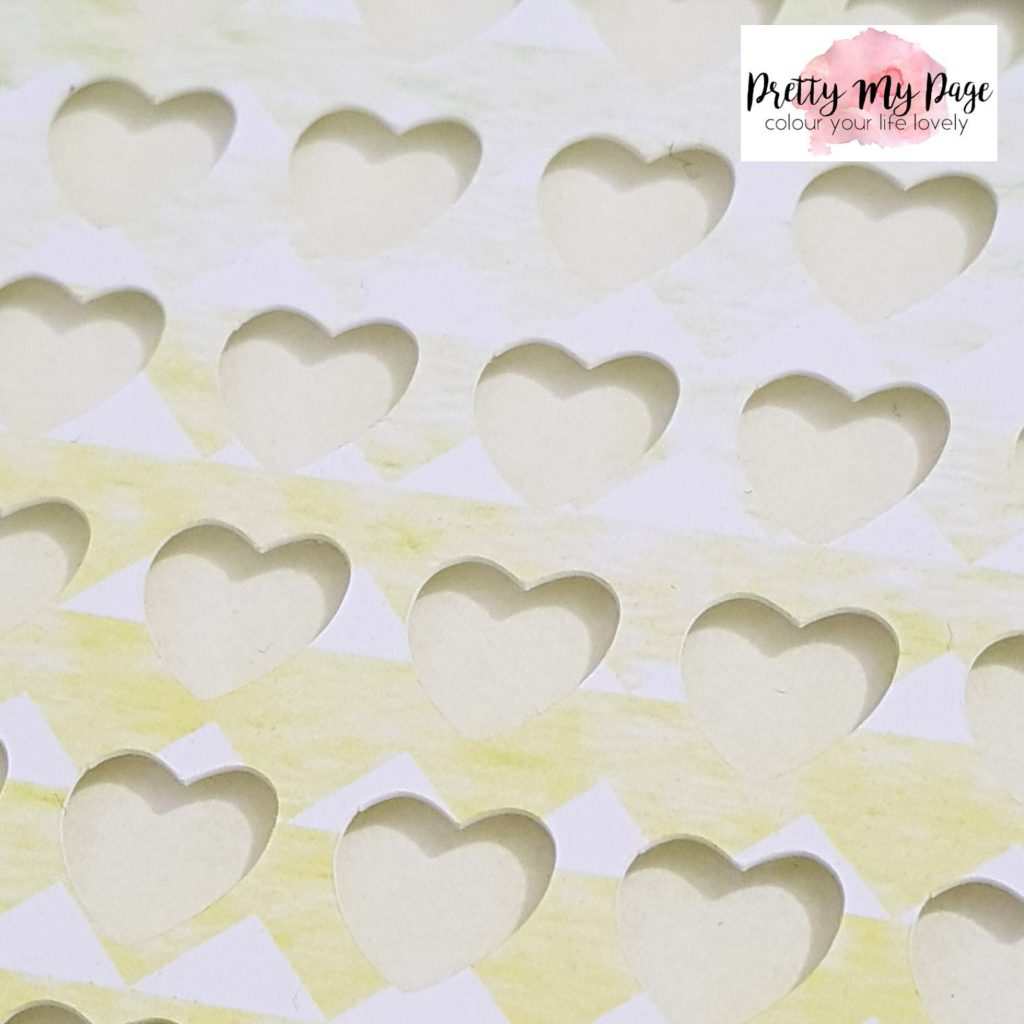
Here I have used Too Many Hearts. I resized down to fit on an A6 card front, un-grouped the cut file and deleted the hearts that were running off the edge. I regrouped the remaining hearts and made sure they were centred on the page.
I cut the hearts on some patterned paper from Pretty Little Studio and popped it on to a card base with some foam squares. I love the shadows a cut file like this creates when it is popped up on foam. I gathered a few bits and bobs from various Pretty Little Studio collections and created a simple cluster for the front.
I have a whole load of heart confetti left over from this card which I will be incorporating into my next Pretty My Page project which is coming up towards the end of the month… see you then!
x
479 /


